Creating newsletters
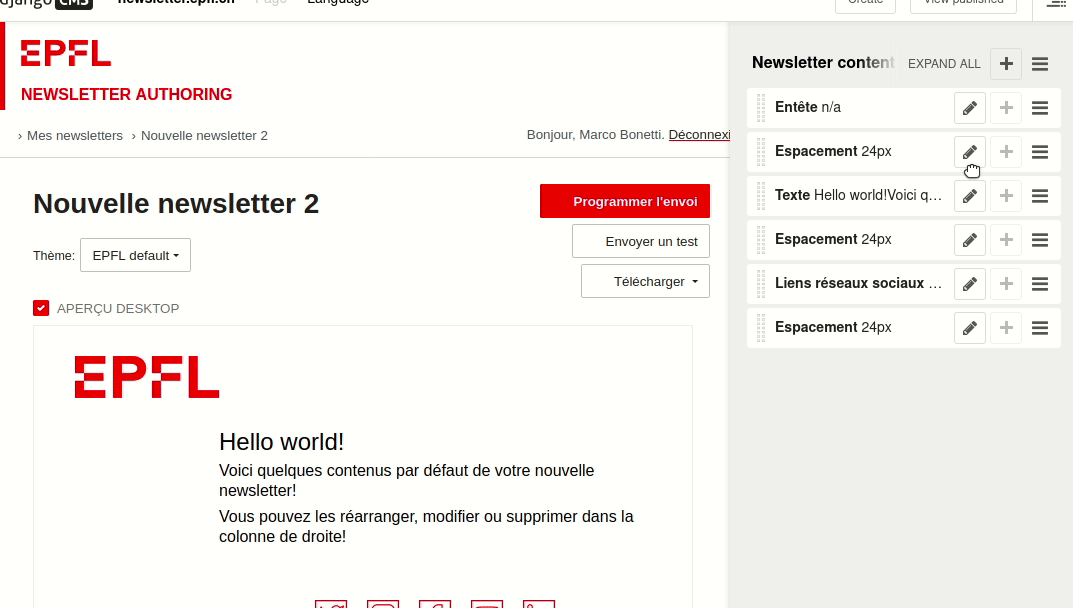
Editing window
Related topics:

The editing window of a newsletter consists of the following elements:
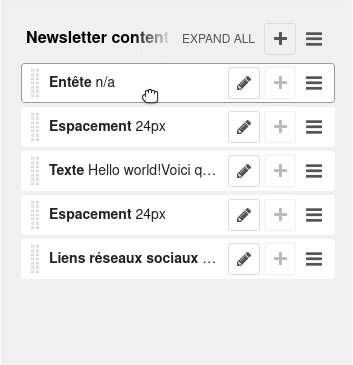
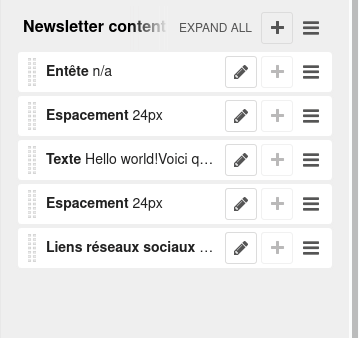
Editing sidebar
The editing sidebar shows all plugins that have been added to the newsletter.
Add contents
Click on the plus (+) icon on the righ side to open the "add plugins" dialog and add contents to your newsletter.
Move
You can reorder a plugin list by sliding any plugin to a new location.
Copy, paste, delete
You can also duplicate an existing block by selecting "copy" from the plugin menu, and then using the "paste" option from the edit menu.
In the same way, the plugin menu allows you to delete or cut plugins.
If you choose to delete a plugin, a popup window will ask you to confirm your decision.
Editing a plugin's contents
You can edit a plugin's contents by double-clicking on the plugin in the sidebar, by clicking on its pencil icon, or by double-clicking the content area in the newsletter preview itself.
The “add a plugin” editing window
By clicking the (+) button at the top of the editing sidebar, a dialog box will appear where you can select the type of plugin you want to add.
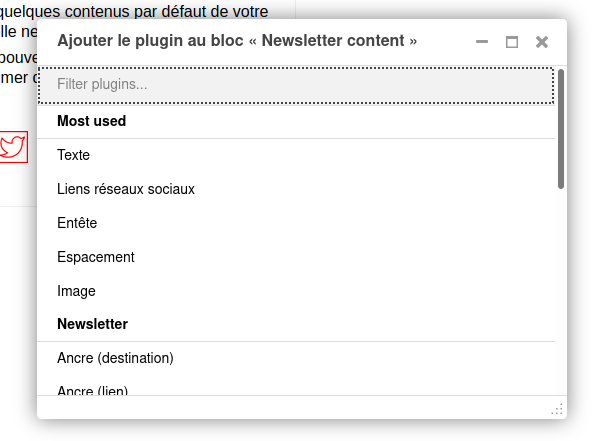
Types of plugins available in the editing window:
- Header
- Leader
- Text block
- Text / image blocks
- Event squares
- Spacings
- Images
- Images with blocks
- Text and images
- Social network links
- Anchors
- "See as a web page" link
- Unsubscribe link
- Events (Calendar)
- Quote
- News, Memento and RSS feed
- News block
- Portraits
- Key figures
- Frame
- Signatures
- EPFL email signatures
- Separator
- EPFL Plan
- Callout
Selecting a theme
Depending on the team(s) of which you are a member, you can change some of your newsletter's visual properties using the theme selector.
The “EPFL” theme is displayed by default. If no other theme is available, the selector will not appear.
Preview
In the Preview window you can view your newsletter as you construct it during the editing process.
You can preview how your newsletter will display on both computer screens and mobile devices. Depending on the size of your screen, the mobile preview may be displayed underneath the desktop preview. You can turn the two previews on or off.
To help orient you, when you move your cursor over the plugins in the editing bar, the corresponding plugin will be highlighted in the two preview modes. This is practical if your newsletter contains a large number of plugins and you are having difficulties matching a specific plugin to its content.
Actions
The buttons at the top of the editing window allow you to:
- schedule a mailing (which means creating a new campaign).
Please note: This button is only visible if the newsletter has content other than default content in at least one language. - send a test: This button enables you to email a proof copy of the newsletter to yourself and/or to other recipients for approval.
- download: Use this button to download a copy of your newsletter in either EML or HTML format.
Do you have a suggestion? Please log in to add a comment